在阅读本文章之前,默认读者已掌握 springboot 和 spring cloud 的基本知识,因此不再对基础知识进行重复介绍。本文主要介绍的是如何配置一个高可用的 spring cloud 配置中心。
一 服务端配置
1.1 引入依赖
新建一个普通的 spring cloud 项目,在项目的 pom 配置文件里加入以下配置:
<dependency> |
1.2 配置属性
1.2.1 基于 git 仓库
下面是是一个基于 git 仓库的示例配置
spring.application.name=config-server |
如果 Git 仓库为公开仓库,可以不填写用户名和密码,如果是私有仓库需要填写
在配置时,{application}、{profile} 、{label}这些占位符除了用于标志配置文件的规则外,还可以用于对 git 仓库的 url 配置。
这些占位符代表的含义:
- {application}: 应用名
- {profile} : 激活的环境名
- {label} : git 仓库的分支名字
此外
如果是在 yml 文章中配置,
searchPaths配置中的{application}应该用单引号包含起来
spring: |
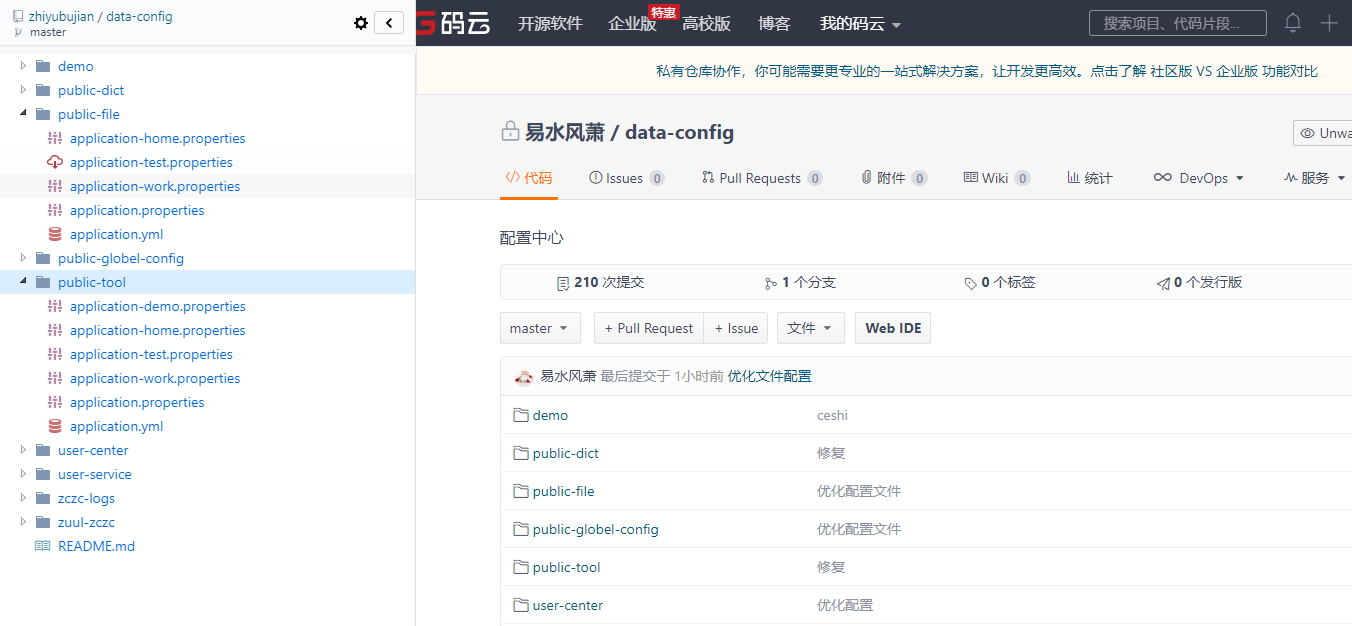
对应的 git 仓库的项目结构为 :
需要特别注意的是,如果分支名 label 包含
/,应该使用(_)替换其中的/,例如,如果分支名为foo/bar, 应该将其替换成foo(_)bar
包含特殊字符串(_)也可以应用于{application}参数。 如果您使用命令行客户端(如 curl),请小心 URL 中的括号- 您应该使用单引号将它们从 shell 中转义
1.2.2 基于本地文件夹
只需要将上面配置中的spring.cloud.config.server.git.uri替换成
spring.cloud.config.server.git.uri: file://${user.home}/config-repo |
即可。
其中 ${user.home}/config-repo 是一个包含 yaml 和属性文件的 Git 存储库
特别注意
在 Windows 上,如果文件 URL 是绝对文件,并且带有驱动器前缀,则需要在该文件 URL 中添加“/”
例如:
file:///${user.home}/config-repo |
在此方式下,searchLocations的默认值与本地 Spring Boot 应用程序相同(即[classpath:/,classpath:/ config,file:。/,file:./ config])。 这不会将application.properties从服务器暴露给所有客户端,因为服务器中存在的任何属性源在被发送到客户端之前都会被删除。
使用 git 存储库的本地文件系统仅用于测试。 您应该使用服务器在生产中托管配置存储库
另外,如果只保留文本文件,配置存储库的初始克隆将快速高效。如果存储二进制文件,尤其是大型文件,则在第一次请求配置时可能会遇到延迟,或者在服务器中遇到内存不足错误
如果您不在搜索位置使用占位符,则此存储库还会将 HTTP 资源的{label}参数附加到搜索路径上的后缀,因此将从每个搜索位置和与其名称相同的子目录中加载属性文件。 label(标记的属性在 Spring 环境中优先)。 因此,没有占位符的默认行为与添加以/ {label} /结尾的搜索位置相同。 例如,file:/ tmp / config与file:/ tmp / config,file:/ tmp / config / {label}相同。 可以通过设置spring.cloud.config.server.native.addLabelLocations = false来禁用此行为。
1.2.3 基于数据库
Spring Cloud Config Server 支持 JDBC(关系数据库)作为配置属性的后端。可以通过添加 spring-jdbc 到类路径并使用 jdbc 配置文件或添加类型的 bean 来启用此功能 JdbcEnvironmentRepository。如果在类路径中包含正确的依赖项(有关详细信息,请参阅用户指南),Spring Boot 会配置数据源。
数据库需要有一个叫做表 PROPERTIES 一个名为列 APPLICATION,PROFILE 以及 LABEL 的属性,再加上 KEY 和 VALUE 在键和值对 Properties 风格。所有字段都是 Java 中的 String 类型,因此您可以根据 VARCHAR 需要设置它们。属性值的行为方式与它们来自命名的 Spring Boot 属性文件{application}-{profile}.properties(包括所有加密和解密)的行为方式相同,后者将作为后处理步骤(即不直接在存储库实现中)应用
1 在项目的 pom 文件中加入 jdbc 相关的依赖
<dependency> |
2 在项目的配置文件中加入以下配置
spring.profiles.active=jdbc |
其中
- spring.profiles.active 为 spring 读取的配置文件名,从数据库中读取,必须为 jdbc。
- spring.datasource 配置了数据库相关的信息
- spring.cloud.config.label 读取的配置的分支,这个需要在数据库中数据对应
- spring.cloud.config.server.jdbc.sql 为查询数据库的 sql 语句,该语句的字段必须与数据库的表字段一致
3 初始化数据
在 mysql 数据库中创建一个名为 config-server-jdbc 的数据库,然后执行以下脚本
CREATE TABLE `config_table` ( |
其中
- config_key 字段为配置的 key
- config_value 字段为配置的值
- application 字段对应于应用名
- profile 对应于环境
- label 对应于读取的分支,一般为 master
1.3 启动配置服务器
@SpringBootApplication |
访问配置信息的 URL 与配置文件的映射关系如下所示:
- /{application}/{profile}/{label}
- /{application}-{profile}.yml
- /{label}/{application}-{profile}.yml
- /{application}-{profile}.properties
- /{label}/{application}-{profile}.properties
例如想想访问 master 分支下的 public-tool 应用的 test 环境,可以通过 http://localhost:8788/public-tool/test/master 访问得到。
注意
{label}的默认值为 master
因此,访问 master 分支下的 public-tool 应用的 test 环境时,可以简写为http://localhost:8788/public-tool/test,依然能够访问。
1.4 配置高可用配置中心
1 在项目的 pom 配置文件里继续加入以下配置
<!-- 使配置中心高可用 --> |
2 接下来在项目的属性配置文件里加入以下配置:
# 指向项目的注册中心 |
3 最后,在项目的启动类上加上注解 @EnableDiscoveryClient 即可。
上述配置是将 config server 作为一个 spring cloud 微服务注册到 spring cloud 的注册中心,在正式环境中,为了保证配置中心的高可用,可以启动多个 config server 微服务实例。
二 客户端配置
2.1 引入依赖
<dependency> |
2.2 属性配置
在项目的配置文件的路径下新建一个名为 bootstrap.yml(或者bootstrap.properties)的文件,
特别注意
必须在 bootstrap 文件里配置,不能在 application 文件里配置,否则会出问题
然后在此文件里加入以下配置:
spring.application.name=config-client |
- spring.application.name 对应配置文件规则中的 {application} 部分
- spring.cloud.config.label 对应配置文件规则中的 {label} 部分
- spring.cloud.config.profile 对应配置文件规则中的 {profile} 部分
配置了上述属性后,spring cloud 程序会在启动时按照 bootstrap 中配置的 应用名{application}、 环境名 {label} 、分支名{profile} 向 config server 请求相关的配置信息。
具体的请求格式为
/{application}/{profile}/{label}
在缺省情况下,各属性的默认值为
application=${spring.application.name} |
2.3 使用属性
经过上述配置之后,在项目中使用
@Value("${属性}") |
即可获取到配置的属性了。
2.4 使用高可用配置中心
1 在项目的 pom 文件里加入以下依赖
<dependency> |
2 修改项目属性配置文件
spring.application.name=config-client |
其中
- pring.cloud.config.discovery.enabled 是指从配置中心读取文件。
- spring.cloud.config.discovery.serviceId 配置中心的 servieId,即服务名。
config client 默认使用/{name}/{profile}/{label}的形式从 config server 获取属性配置。这几个通配符的默认值为
application=${spring.application.name} |
您可以通过设置spring.cloud.config来覆盖所有这些。*(其中*是name,profile或label)。 label可用于回滚到以前版本的配置。label也可以以逗号分隔列表的形式提供。 在这种情况下,列表中的项目将逐个尝试,直到成功为止。 在处理功能分支时,此行为非常有用。 例如,您可能希望将配置标签与您的分支对齐,但使其成为可选(在这种情况下,请使用spring.cloud.config.label = myfeature,develop)。
示例配置如下:
spring.cloud.config.label=master |
如果您更喜欢使用 DiscoveryClient 来查找配置服务器,可以通过设置spring.cloud.config.discovery.enabled = true(默认值为 false)来实现。 这样做的最终结果是客户端应用程序都需要具有适当发现配置的 bootstrap.yml(或环境变量)。
另外,使用 Spring Cloud Netflix 时需要定义 Eureka 服务器地址(eureka.client.serviceUrl.defaultZone),只要发现服务是固定点,配置服务器就可以更改其坐标。 默认服务 ID 是configserver,但您可以通过设置spring.cloud.config.discovery.serviceId在服务器上更改它。
在配置服务器上,可以通过设置
spring.application.name设置服务名
发现客户端实现都支持某种元数据映射(Eureka 提供了eureka.instance.metadataMap)。 可能需要在其服务注册元数据中配置 Config Server 的一些其他属性,以便客户端可以正确连接。 如果使用 HTTP Basic 保护配置服务器,则可以将凭据配置为用户和密码。 此外,如果 Config Server 具有上下文路径,则可以设置 configPath。 例如,以下 YAML 文件用于作为 Eureka 客户端的 Config Server
eureka: |
这时如果配置服务部署多份,通过负载均衡,从而高可用。
三 快速刷新配置
在客户端项目的配置文件里加入以下依赖
<dependency> |
接下来,发送 POST 请求到 http://ip:端口/actuator/refresh 即可刷新对应的客户端的配置。
注意:
使用 management 时最好加上以下配置
management: |
因为可以通过 spring cloud bus 更快速地刷新全局配置,所以这里只是简单地提示下。